At times, your Kichler ceiling fan capacitor may burn out and the fan either slows down or completely stops. There are various reasons that can cause the capacitor burnt out such as heat, excessive voltage surges etc.
Here is how you can replace the capacitor in your Kichler ceiling fan:
First of all, you have to turn off the circuit breaker from the mains to prevent the power reaching the fan. This safety measure is important to take to avoid any hazard (like being electrocuted by mistake).
After that, remove the old capacitor that is burnt out. Cut the wires that are connected to the capacitor to remove it.
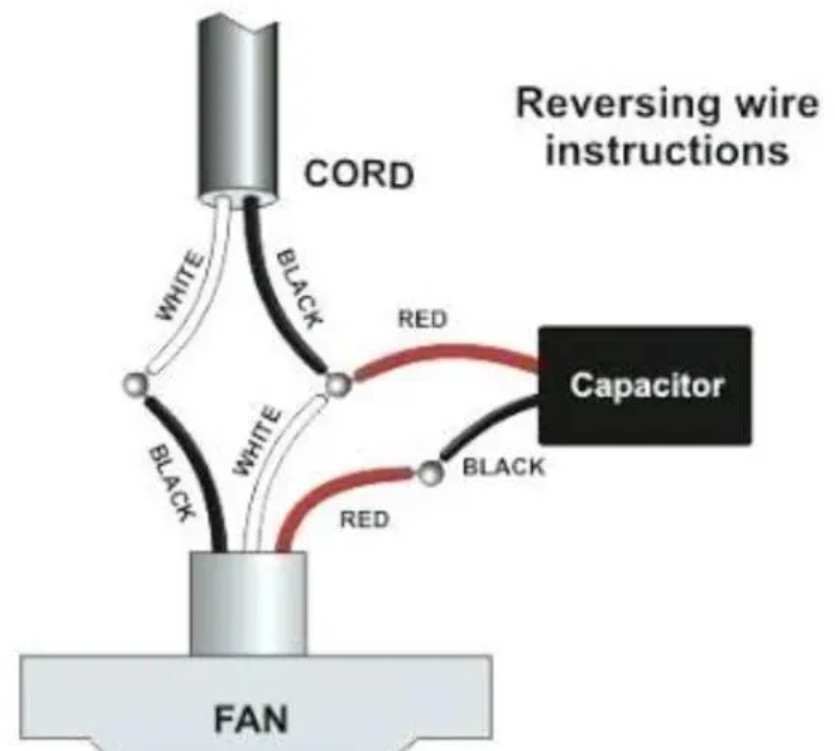
Now, you will have to get a new capacitor. You will find the 2 terminals on the capacitor. Connect the red wire from the fan to the first terminal of capacitor and use the blue wire to connect it to the 2nd terminal of capacitor.
After that, you have to connect both wires (blue and red) by using the electrical tape and wire nut. Insert it in the wire connector.
There is a black wire connection (neutral), your task is to connect this one from the ceiling fan to 2nd slot of wire connector.
So, the last step is to connect the black (neutral) wire and red wire (live) to the power supply.
That is it. You may switch on the main circuit breaker from the main board and your fan will work perfectly fine.
It was easy isn’t it? You can also check other problems in our Kichler ceiling fan troubleshooting guide to fix them.